
| 일 | 월 | 화 | 수 | 목 | 금 | 토 |
|---|---|---|---|---|---|---|
| 1 | 2 | 3 | ||||
| 4 | 5 | 6 | 7 | 8 | 9 | 10 |
| 11 | 12 | 13 | 14 | 15 | 16 | 17 |
| 18 | 19 | 20 | 21 | 22 | 23 | 24 |
| 25 | 26 | 27 | 28 | 29 | 30 | 31 |
- PassthroughSubject
- iOS기술블로그
- tryMap
- 라이브러리
- Combine
- CURSOR
- Codex사용법
- SwiftCombine
- hugging
- removeDuplicates
- Swift
- RxSwift에서Combine
- Combine개념
- Publisher
- priority
- ChatGPTCodex
- Combine입문
- AI개발도구추천
- replaceNil
- CurrentValueSubject
- compactMap
- 비동기
- FilteringOperator
- autoLayout
- Cocoapods
- RxSwift
- Codex리뷰
- 코딩에이전트
- ios
- RxSwift비교
- Today
- Total
Tong's Blog
[Swift] Delegate란? 본문
안녕하세요.
오늘은 Swift와 iOS를 공부하게 되면 꼭 만나게 되는 Delegate Pattern에 대해 알아보겠습니다.
Delegate?
우선 Delegate가 무엇을 뜻하는지 알아봐야겠습니다.
en.wikipedia.org/wiki/Delegation_pattern
Delegation pattern - Wikipedia
From Wikipedia, the free encyclopedia Jump to navigation Jump to search In software engineering, the delegation pattern is an object-oriented design pattern that allows object composition to achieve the same code reuse as inheritance. In delegation, an obj
en.wikipedia.org
Delegate Pattern을 사용하는 방법은 언어마다 조금씩 다르니 개념적인 부분만 위키에서 가져왔습니다.
소프트웨어 엔지니어링에서 Delegate 패턴은 객체 지향 디자인 패턴중 하나로써 상속과 비슷하게 재사용을 가능하게 해주는 패턴이라고 합니다.
Delegate이라는 단어를 직역하면 위임이라는 뜻이지만 위임보다는 확장의 개념이 좀 더 어울린다고 합니다.
설명을 드리는 거 보다는 예시를 보면서 이해를 해보겠습니다.
Example: UITableView Delegate
iOS와 UIKit을 공부하다보면 자주 등장하는 UI Componenet 중 하나인 UITableView를 한번 보겠습니다.
UITableView를 추가하는 건 어렵지 않습니다. (스토리보드의 경우 그냥 드래그 앤 드롭이겠죠)
private let tableView: UITableView = {
   let aTableView = UITableView()
   aTableView.translatesAutoresizingMaskIntoConstraints = false
   return aTableView
}()

override func viewDidLoad() {
   super.viewDidLoad()

   view.addSubview(tableView)

   NSLayoutConstraint.activate([
      tableView.topAnchor.constraint(equalTo: view.safeAreaLayoutGuide.topAnchor),
      tableView.leadingAnchor.constraint(equalTo: view.safeAreaLayoutGuide.leadingAnchor),
      tableView.trailingAnchor.constraint(equalTo: view.safeAreaLayoutGuide.trailingAnchor),
      tableView.bottomAnchor.constraint(equalTo: view.safeAreaLayoutGuide.bottomAnchor),
   ])
}
이러면 ViewController에 tableView가 보이게 되지만 우리는 tableView를 사용하기 위해 몇가지 코드를 더 추가해야 합니다.
private let tableView: UITableView = {
   let aTableView = UITableView()
   aTableView.translatesAutoresizingMaskIntoConstraints = false
   return aTableView
}()

override func viewDidLoad() {
   super.viewDidLoad()

   tableView.delegate = self
   tableView.dataSource = self

   view.addSubview(tableView)

   NSLayoutConstraint.activate([
      tableView.topAnchor.constraint(equalTo: view.safeAreaLayoutGuide.topAnchor),
      tableView.leadingAnchor.constraint(equalTo: view.safeAreaLayoutGuide.leadingAnchor),
      tableView.trailingAnchor.constraint(equalTo: view.safeAreaLayoutGuide.trailingAnchor),
      tableView.bottomAnchor.constraint(equalTo: view.safeAreaLayoutGuide.bottomAnchor),
   ])
}
우리는 tableView에 데이터를 넣기 위해서 dataSource와 tableView의 이벤트(셀 터치 등) 및 레이아웃 작업를 처리하기 위해서 아래 두 코드를 tableView를 가진 ViewController에 넣어야 합니다:
tableView.delegate = self
tableView.dataSource = self
또한 위 코드를 추가하게 되면 ViewController 클래스에 UITableViewDelegate, UITableViewDataSource를 추가로 선언해야 하며 그러면 우리는 UITableView를 다룰 수 있는 여러 method들을 사용할 수 있게 됩니다.
func tableView(_ tableView: UITableView, numberOfRowsInSection section: Int) -> Int {
   return 1
}

func tableView(_ tableView: UITableView, cellForRowAt indexPath: IndexPath) -> UITableViewCell {
   let cell = tableView.dequeueReusableCell(withIdentifier: "tableCell", for: indexPath)

   return cell
}

//등
저는 처음엔 이렇게 사용해야 하는 이유를 알지 못하고 그냥 tableView를 사용하면 당연히 거쳐야하는 과정이라고 생각했습니다.
하지만 delegate 개념을 알게 되면서 왜 이렇게 구현해야 하는지 이해할 수 있게 된 거 같습니다.
우선, 위의 두 코드가 의미하는 게 어떤 것인지 알기 위해 UITableView의 코드와 UITableViewDataSource의 코드를 가져와 봤습니다.
@available(iOS 2.0, *)
open class UITableView : UIScrollView, NSCoding, UIDataSourceTranslating {


    public init(frame: CGRect, style: UITableView.Style) // must specify style at creation. -initWithFrame: calls this with UITableViewStylePlain

    public init?(coder: NSCoder)


    open var style: UITableView.Style { get }


    weak open var dataSource: UITableViewDataSource?

    weak open var delegate: UITableViewDelegate?
    //...
}
public protocol UITableViewDataSource : NSObjectProtocol {


    @available(iOS 2.0, *)
    func tableView(_ tableView: UITableView, numberOfRowsInSection section: Int) -> Int


    // Row display. Implementers should *always* try to reuse cells by setting each cell's reuseIdentifier and querying for available reusable cells with dequeueReusableCellWithIdentifier:
    // Cell gets various attributes set automatically based on table (separators) and data source (accessory views, editing controls)

    @available(iOS 2.0, *)
    func tableView(_ tableView: UITableView, cellForRowAt indexPath: IndexPath) -> UITableViewCell

    //...
 }
UITableView에는 dataSource와 delegate가 선언되어 있고 dataSource와 delegate는 UITableViewDelegate와 UITableViewDataSource라는 protocol입니다. protocol에 대한 자세한 설명은 이번 포스트에서 다 할 수 없지만 간단히 말하자면 특정한 프로퍼티나 메소드를 쓰도록 하는 일종의 약속이라고 생각하시면 될 거 같습니다.
UITableViewDataSource protocol에는 우리가 ViewController에서 구현했던 method들이 정의되어 있습니다. 그래서 우리의 ViewController에 해당 protocol을 채택하면 해당 method들을 사용할 수 있게 됩니다. 하지만 단순히 protocol을 채택하기만 하면 tableView에 원하는 기능을 사용할 수 없습니다.
tableView.delegate = self
tableView.dataSource = self
이 두 코드가 있어야 비로소 우리가 원하는 tableView 기능들을 사용할 수 있게됩니다.
Custom Delegate
그러면 UITableView가 아닌 우리가 직접 Delegate를 작성해야 하는 경우는 어떤게 있을까요?
예를 들어 우리가 여러 ViewController에서 사용할 Custom View를 만들었다고 가정해보겠습니다.
(Custom View를 만드는 방법은 아래링크로..)
[Swift] Custom View 만들기 (code only)
안녕하세요. 오늘은 Custom View Class를 만들기를 해보려고 합니다. 우선 Custom View 라는 건 어떤 것을 말하는 걸까요? (아 시작전에 저는 이번 포스트에서 xib로 Custom View를 만드는 방법을 포함하지 않
tong94.tistory.com
class TestView: UIView{
private let testButton: UIButton = {
let aButton = UIButton()
aButton.backgroundColor = .blue
aButton.setTitle("Test", for: .normal)
aButton.translatesAutoresizingMaskIntoConstraints = false
return aButton
}()
override init(frame: CGRect) {
super.init(frame: frame)
addSubview(testButton)
NSLayoutConstraint.activate([
testButton.topAnchor.constraint(equalTo: topAnchor),
testButton.leadingAnchor.constraint(equalTo: leadingAnchor),
testButton.trailingAnchor.constraint(equalTo: trailingAnchor),
testButton.bottomAnchor.constraint(equalTo: bottomAnchor),
])
testButton.addTarget(self, action: #selector(self.onClickTestButton), for: .touchUpInside)
}
@objc private func onClickTestButton(){
//팝업을 띄우도록 처리해야 하지만 팝업을 present할 수 없다. -> self가 UIView이기 때문에
}
required init?(coder: NSCoder) {
fatalError("init(coder:) has not been implemented")
}
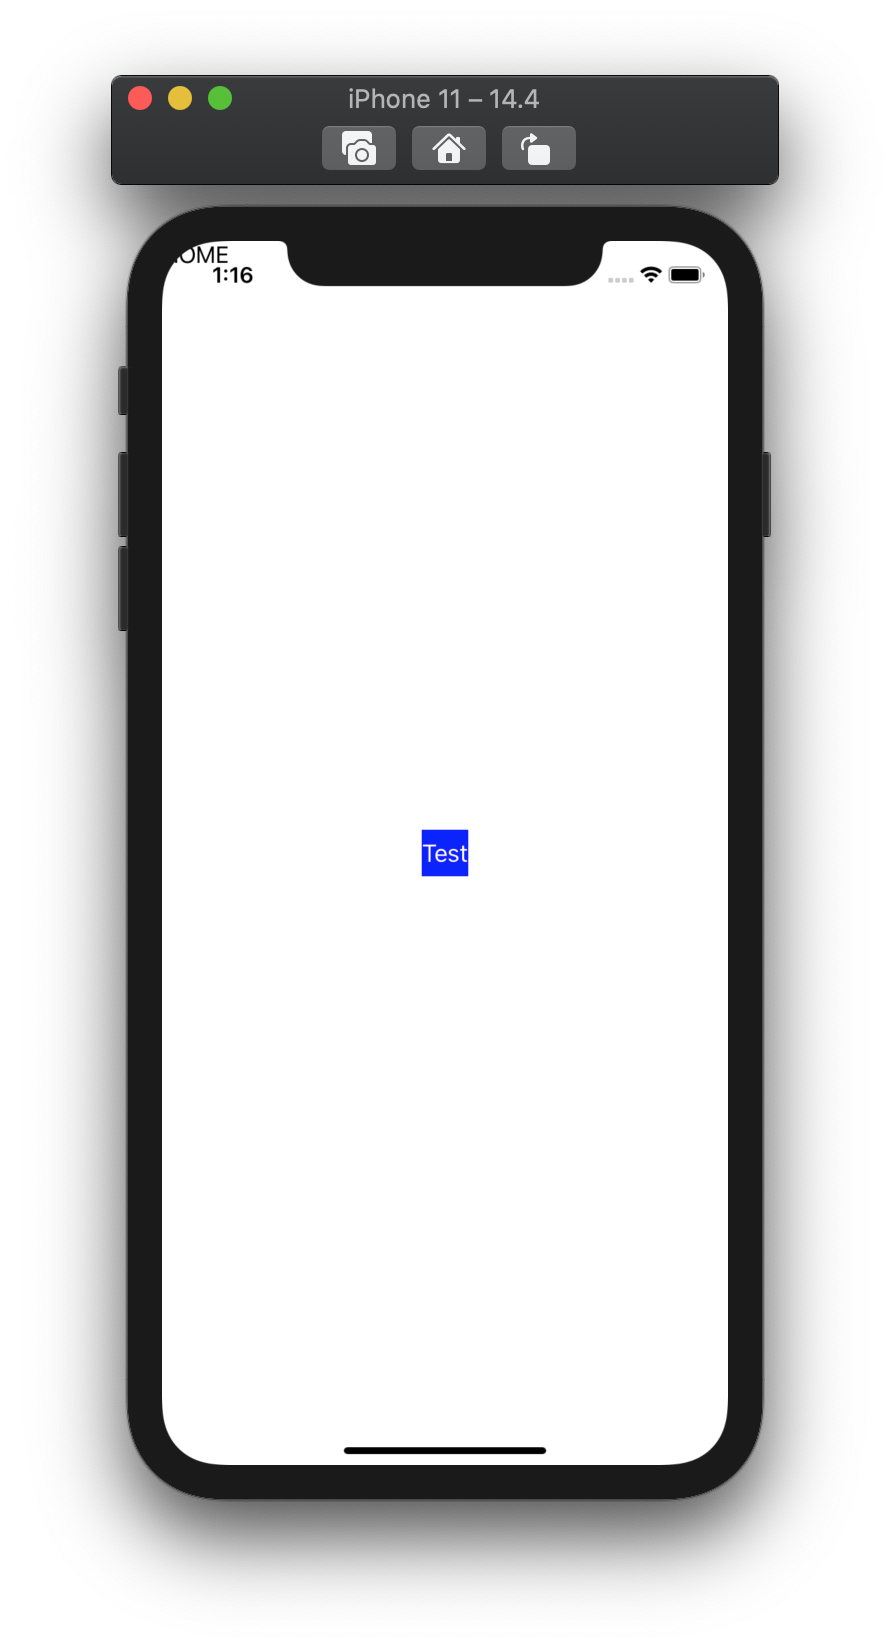
}class HomeViewController: UIViewController{
override func viewDidLoad() {
super.viewDidLoad()
view.backgroundColor = .white
setupView()
setupLayout()
print("Home View Controller")
}
private let homeLabel: UILabel = {
let aLabel = UILabel()
aLabel.text = "HOME"
aLabel.translatesAutoresizingMaskIntoConstraints = false
return aLabel
}()
private let testView: TestView = {
let testView = TestView()
testView.translatesAutoresizingMaskIntoConstraints = false
return testView
}()
func setupView() {
view.addSubview(homeLabel)
view.addSubview(testView)
}
func setupLayout() {
NSLayoutConstraint.activate([
testView.centerYAnchor.constraint(equalTo: view.centerYAnchor),
testView.centerXAnchor.constraint(equalTo: view.centerXAnchor),
])
}
}
그리고 해당 뷰에는 button이 있는데 해당 버튼을 누르면 팝업창이 나타나야 합니다.
간단히 생각했을 때는 만든 Custom View Button에 addTarget을 하면 된다고 생각하겠지만 Custom View Button은 UIView에 있고 우리는 팝업을 present하기 위해서는 UIViewController에서 처리해줘야 합니다. 다시 말해 UIView에서 발생한 일을 UIViewController에서 처리해줘야 하는 경우입니다.
사실 처리해주는 방법은 여러 가지가 있을 테지만 우리는 오늘 배운 Delegate를 통해 해당 문제를 해결해 보겠습니다.
위에 UITableViewDelegate에서 볼 수 있듯이 delegate는 프로토콜로 선언합니다.
protocol TestViewDelegate{
    func onClickButton()
}
이제 이 프로토콜을 우리가 이벤트를 발생할 View에 선언해줍니다.
class TestView: UIView{

    let testButton: UIButton = {
       let aButton = UIButton()
        aButton.backgroundColor = .blue
        aButton.setTitle("Test", for: .normal)
        aButton.translatesAutoresizingMaskIntoConstraints = false
        return aButton
    }()

    var delegate: TestViewDelegate?
    //...
}
그리고 우리가 원하는 이벤트에 해당 delegate를 연결합니다.
class TestView: UIView{

    let testButton: UIButton = {
        let aButton = UIButton()
        aButton.backgroundColor = .blue
        aButton.setTitle("Test", for: .normal)
        aButton.translatesAutoresizingMaskIntoConstraints = false
        return aButton
    }()

    var delegate: TestViewDelegate?
    //...

    @objc private func onClickTestButton(){
        self.delegate?.onClickButton()
    }
}
이러면 이제 해당 프로토콜을 만족하는 곳에서 해당 프토로콜에 선언된 메소드를 사용할 수 있게됩니다.
우리는 우리의 ViewController에 해당 프로토콜을 추가해보겠습니다.
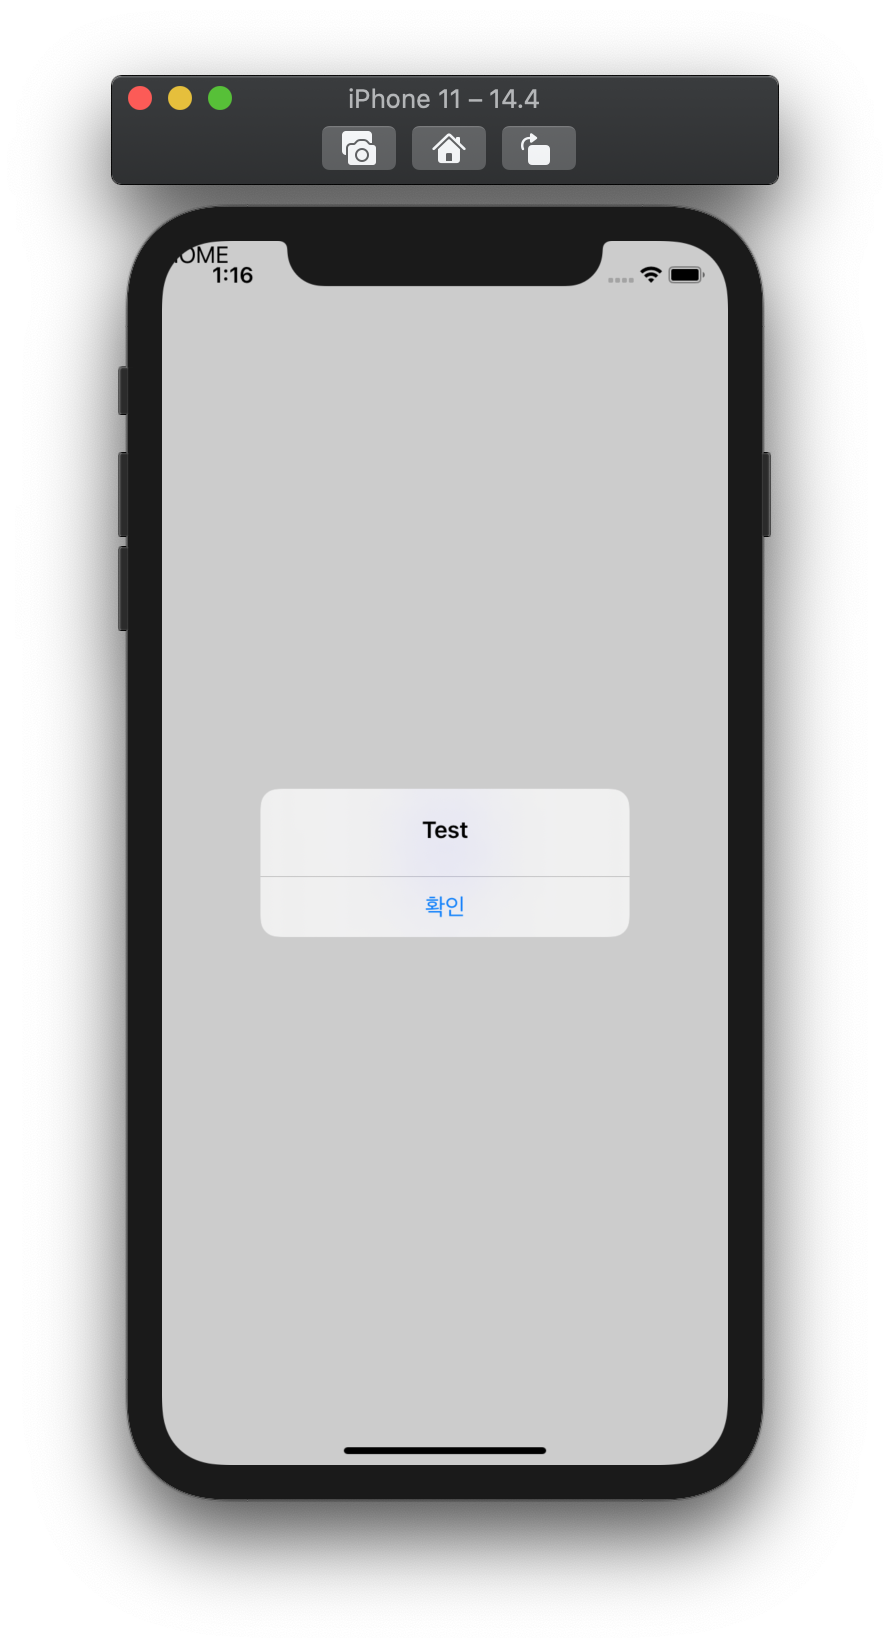
class HomeViewController: UIViewController, TestViewDelegate{

    func onClickButton() {
        //팝업 code
        let alert = UIAlertController(title: "Test", message: "", preferredStyle: .alert)

        let okAction = UIAlertAction(title: "확인", style: .default, handler: { _ in })

        alert.addAction(okAction)

        self.present(alert, animated: true, completion: nil)
    }

    override func viewDidLoad() {
        super.viewDidLoad()

        view.backgroundColor = .white

        setupView()
        setupLayout()

        print("Home View Controller")
    }

    //...
}
그러면 이제 사용할 수 있을까요?
아마 팝업창이 실행된다면 코드가 잘못됬거나 벌써 앞서나가신 겁니다.
UITableView에서 봤듯이 해당 delegate를 설정해주는 작업이 필요합니다.
tableView.delegate = self
tableView.dataSource = self
우리의 프로토콜도 마찬가지로 delegate를 할당해줘야겠습니다.
func setupView() {
    testView.delegate = self

    view.addSubview(homeLabel)
    view.addSubview(testView)
}
이제야 우리는 해당 Custom View에 있는 버튼을 통해서 팝업창을 띄울 수 있게 되었습니다.
사용 시 주의할점
Delegate 패턴을 통해 View와 ViewController간의 이벤트를 처리하는 법에 대해서 알아봤습니다. 비슷하게 버튼이 있는 TableViewCell에서도 같은 패턴을 통해 구현이 가능합니다.
Delegate가 좋은 패턴이지만 사용 시 조심해야 합니다. Memory Leak 현상이 발생할 수 있기 때문입니다.
왜 이런 현상이 생기는지에 대해서는 ARC에 대해 공부하셔야 하지만 간단히 설명하자면 ViewController 와 UIView가 서로 delegate를 통해 참조되기 때문입니다.
그래서 우리는 해당 참조와 상관없이 Memory가 관리되도록 해줘야 합니다. 바로 delegate를 weak로 만들어 주면 됩니다. 하지만 우리가 선언한 delegate를 weak로 만들기 위해서는 해당 변수가 참조타입이라는 것을 명시해줘야 합니다. 그렇기에 우리가 만든 protocol이 class형식에만 적용될 수 있게끔 바꿔줘야 합니다.
protocol TestViewDelegate: class{
    func onClickButton()
}

class TestView: UIView{

    let testButton: UIButton = {
       let aButton = UIButton()
        aButton.backgroundColor = .blue
        aButton.setTitle("Test", for: .normal)
        aButton.translatesAutoresizingMaskIntoConstraints = false
        return aButton
    }()

    weak var delegate: TestViewDelegate?

    override init(frame: CGRect) {
        super.init(frame: frame)

        addSubview(testButton)

        NSLayoutConstraint.activate([
            testButton.topAnchor.constraint(equalTo: topAnchor),
            testButton.leadingAnchor.constraint(equalTo: leadingAnchor),
            testButton.trailingAnchor.constraint(equalTo: trailingAnchor),
            testButton.bottomAnchor.constraint(equalTo: bottomAnchor),
        ])

        testButton.addTarget(self, action: #selector(self.onClickTestButton), for: .touchUpInside)
    }

    @objc private func onClickTestButton(){
        self.delegate?.onClickButton()
    }

    required init?(coder: NSCoder) {
        fatalError("init(coder:) has not been implemented")
    }
}
protocol에 class타입을 명시하고 delegate를 weak로 만들어 준다면 Memory Leak 문제를 해결할 수 있습니다.
오늘은 Delegate에 대해 알아보고 어디에 사용되는지 실제 구현하는 법까지 알아봤습니다.
Delegate를 이해하시거나 사용하시는데 도움이 됬으면 좋겠습니다.
감사합니다.
'iOS > Swift' 카테고리의 다른 글
| [iOS] UINavigationController 에 대해 (0) | 2021.08.31 |
|---|---|
| [Swift] ReactorKit Framework (0) | 2021.05.24 |
| [Swift] Foundation 간단 정리 (0) | 2020.12.23 |
| [Swift] UIImageView 기본 사용법과 CornerRadius 와 Shadow 넣기 (0) | 2020.12.15 |
| [Swift] Custom View 만들기 (code only) (0) | 2020.12.13 |


